

Well, I had thought I would have some eloquent introduction/greeting to my Blog but ended up coming up with this idea last night and just had to share!
Ever want to cut a shape out of a photo? Like a heart or a flower around someone's face? Well, this idea just came to me last night while trying to prepare a bulletin board display for work. This is how you can do this technique!
First, select your basic shapes option in SCAL or select your preferred shape from the endless dingbat fonts out there. Size your shape the way you want it.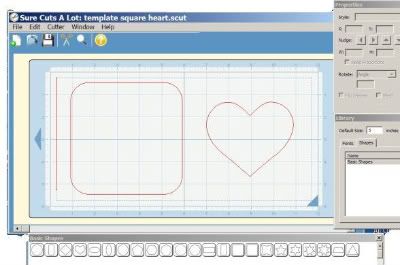
It is important to save if you need to cut another template later. You also have to have this .scut file open to cut the matching shape from the photo.
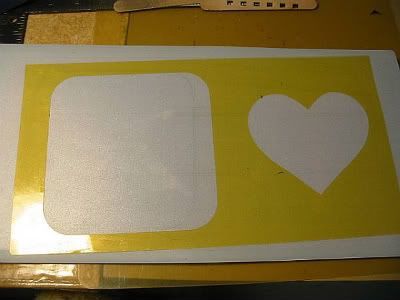
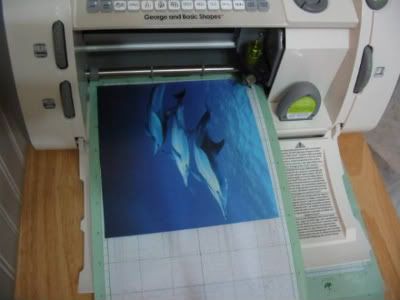
So next you are going to cut your template from clear colored acetate (I simply used a report cover that I cut 6" wide to fit mat.)
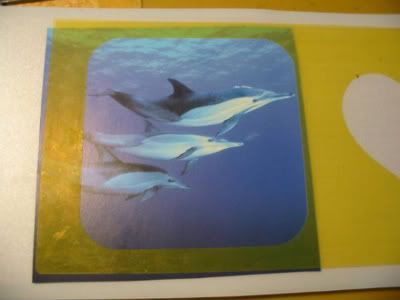
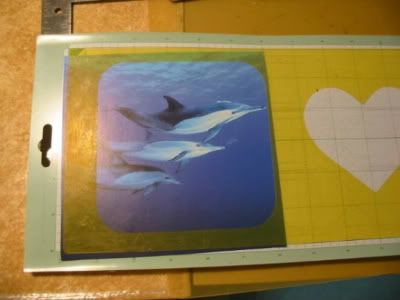
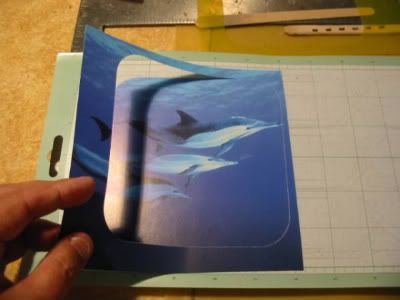
Once the glue has cured, select a photo to cut and place the template on top to select the area of the photo you want to cut out. As you can see in this pic I wanted to have the full dolphins beak to be in the picture.
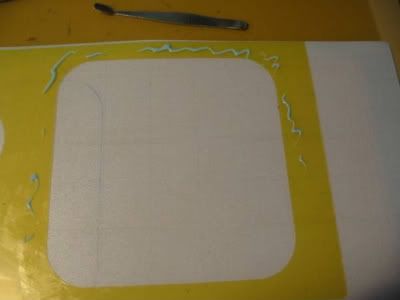
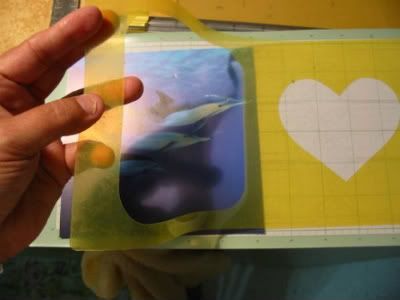
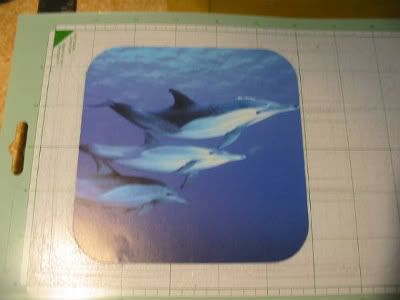
In this next pic you see you have to remove the template. Because one hand was holding the camera, I couldn't demonstrate that I hold down the photo while peeling off the template. You will have to do that so that the photo doesn't move.
Would love to see if any of you readers try this and OF COURSE want to see the results! If you post them on the SCAL forum I'll see them!
Remember .... SCAL ROCKS!!
Toodleloo from Marly
Ever want to cut a shape out of a photo? Like a heart or a flower around someone's face? Well, this idea just came to me last night while trying to prepare a bulletin board display for work. This is how you can do this technique!
First, select your basic shapes option in SCAL or select your preferred shape from the endless dingbat fonts out there. Size your shape the way you want it.
It is important to save if you need to cut another template later. You also have to have this .scut file open to cut the matching shape from the photo.
So next you are going to cut your template from clear colored acetate (I simply used a report cover that I cut 6" wide to fit mat.)
Once the glue has cured, select a photo to cut and place the template on top to select the area of the photo you want to cut out. As you can see in this pic I wanted to have the full dolphins beak to be in the picture.
In this next pic you see you have to remove the template. Because one hand was holding the camera, I couldn't demonstrate that I hold down the photo while peeling off the template. You will have to do that so that the photo doesn't move.
Would love to see if any of you readers try this and OF COURSE want to see the results! If you post them on the SCAL forum I'll see them!
Remember .... SCAL ROCKS!!
Toodleloo from Marly
6 comments:
Marly, good idea and great presentation. I see all of your contributions on the SCAL MB.
Thank you.
PapaSue
http://papasuecreative@blogspot.com
You are GREAT!! I would have never thought!! Thanks for sharing!
Sabrina
Good thinking Marly. Thanks for sharing.
thanks for this I am having a lot of issues with aligning the paper back exactly where it cuts.. any ideas?
Love the idea and the possibilities of using all the different shapes are great.
Excellent Idea Marly, gosh you're a wizz! Thanks for sharing these great tips :) Cheers Kris
Post a Comment